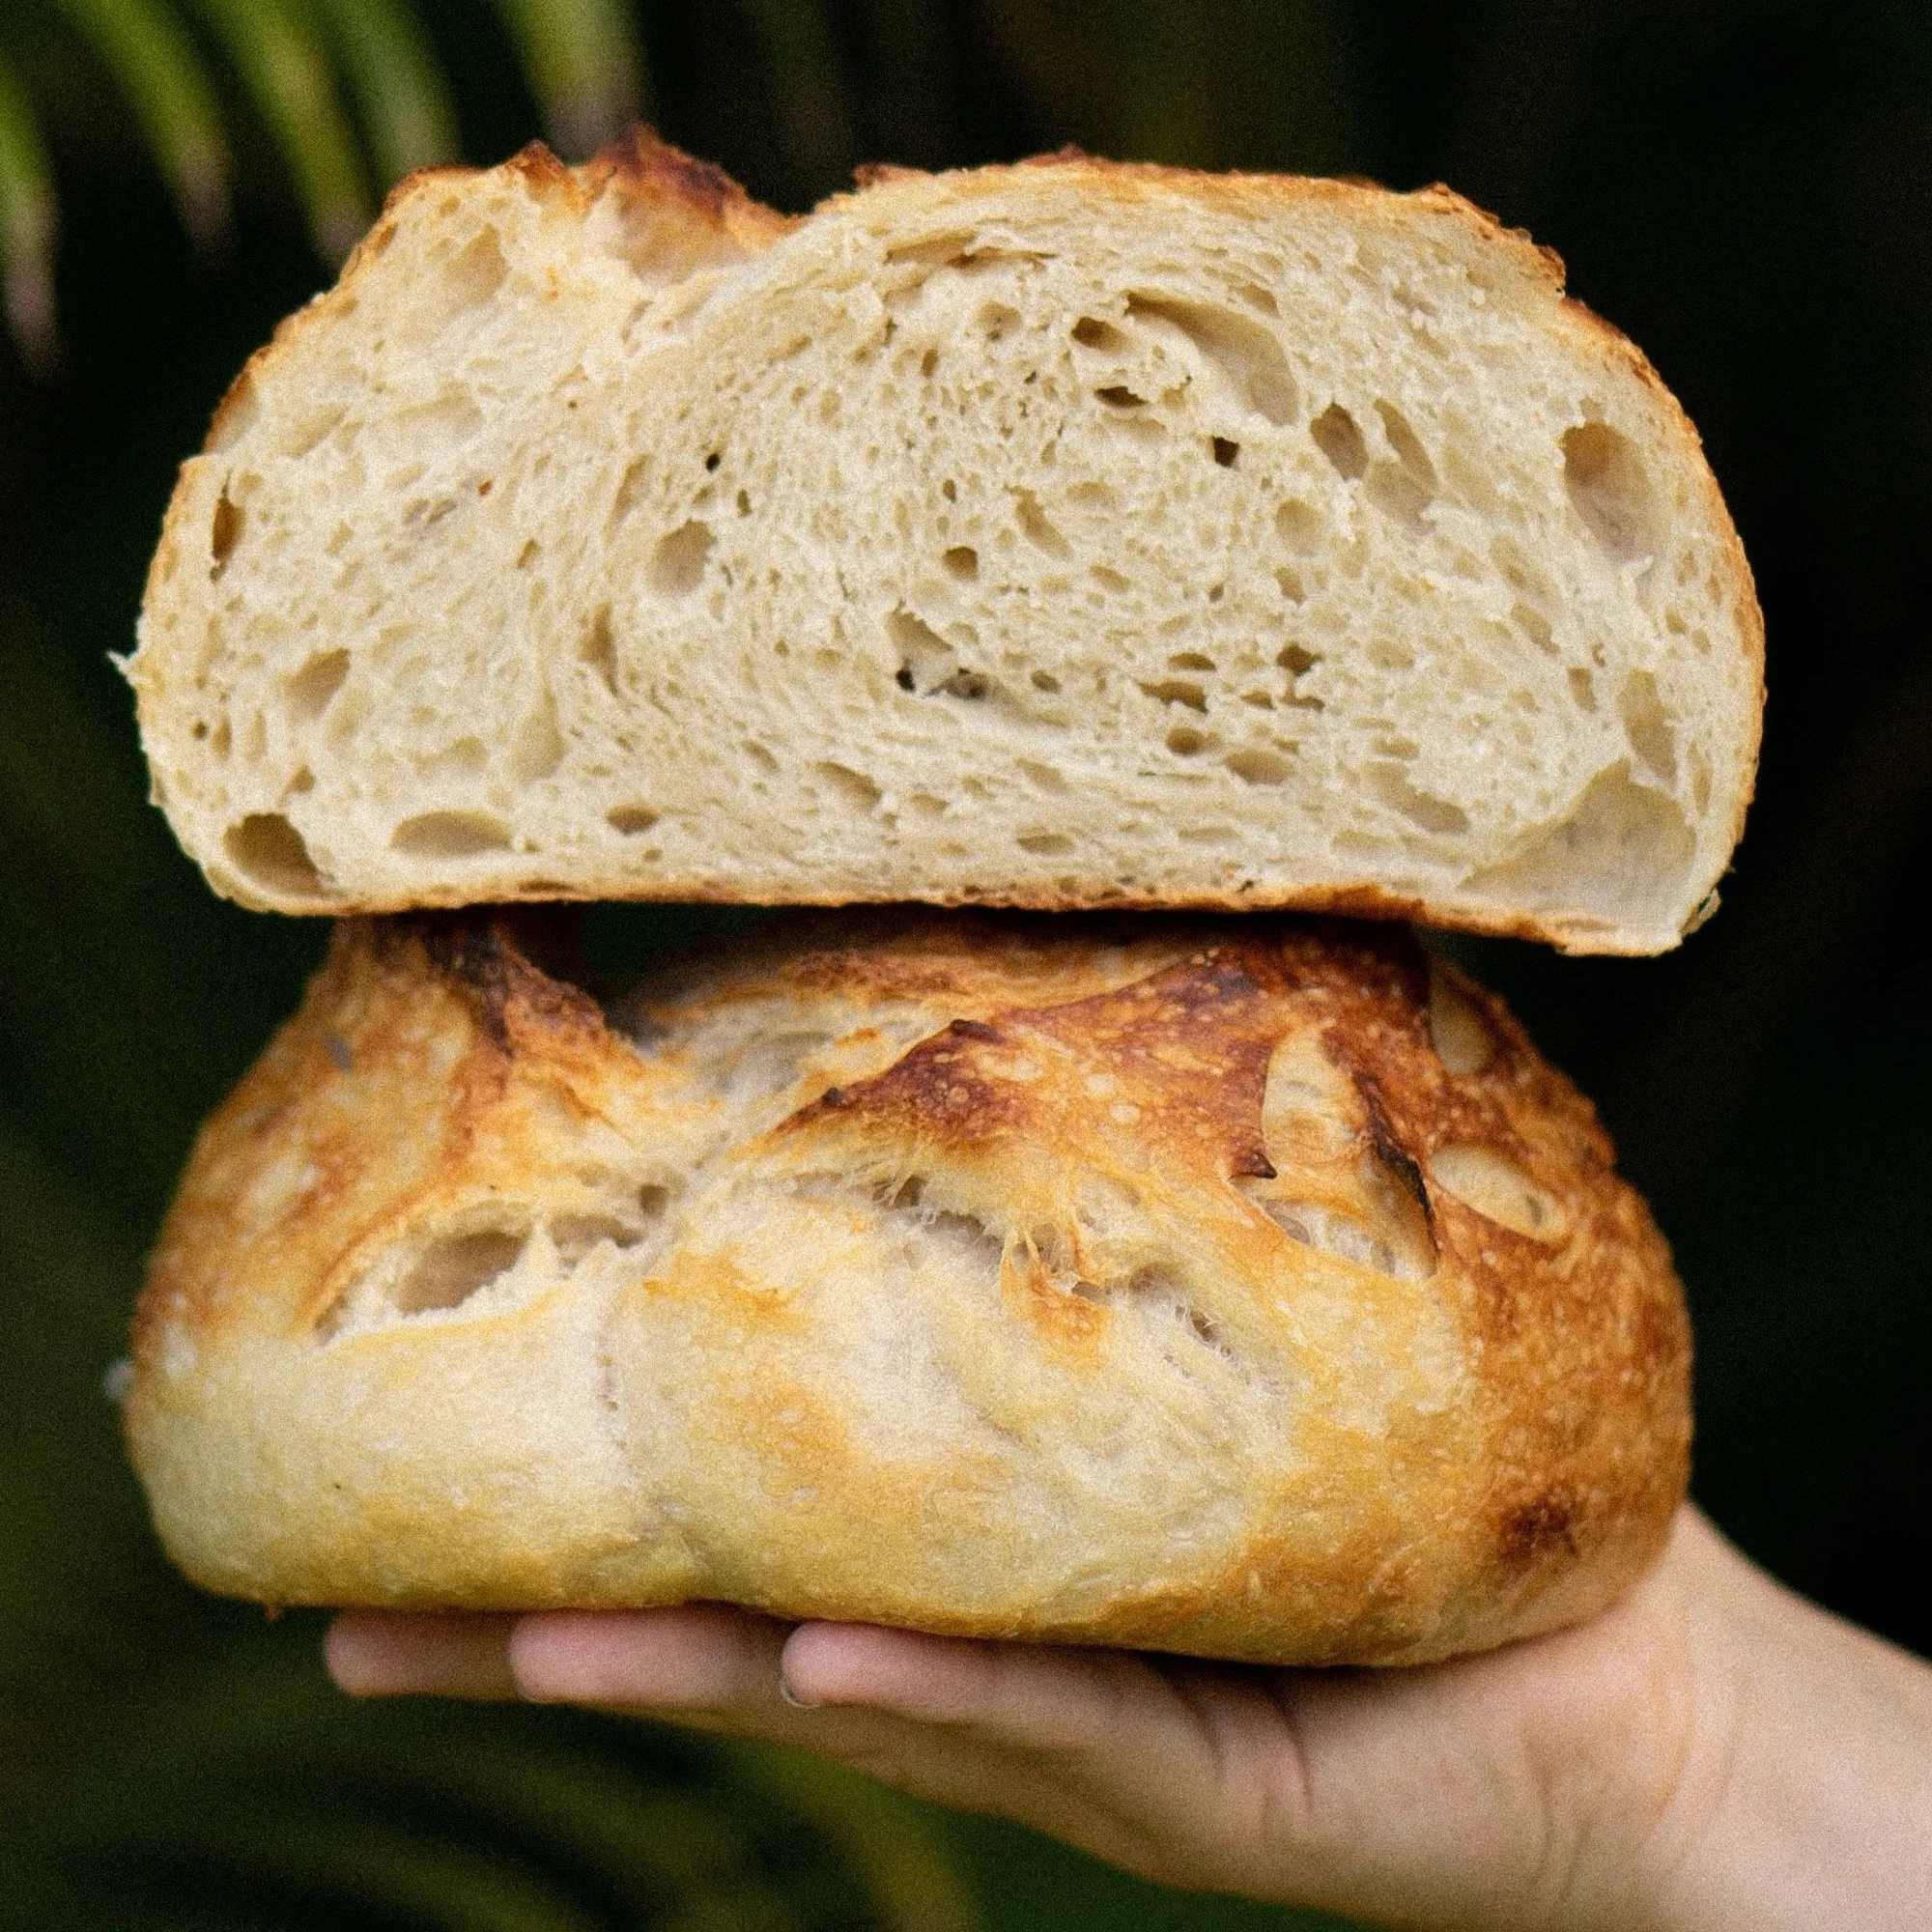
Artisan Sourdough Bread
Levain:
30g active sourdough starter
150g flour
150g lukewarm water
Final Dough:
585g lukewarm water
240g active levain
900g flour
20g coarse sea salt
Directions:
1. Prepare the levain the 5-12 before mixing the final dough. Your levain will be ready to use when it has doubled in size, is bubbly and active, looks domed on the top, and can pass the float test. The amount of time this takes will depend on the ambient temperature of your home. Let it sit covered (lid loosely put on) on the counter until ready to use.
2. Once the levain is ready, prepare the dough. Do the float test with your levain if you're unsure it's ready.
3. In a large bowl, mix the water, levain, and flour. Using a dough whisk, wooden spoon, or your hands, mix until it forms a shaggy dough and there are no dry bits of flour. Cover and let sit for 30 minutes, up to two hours. This is called the autolyse. This process helps the flour fully hydrate and kickstarts the gluten development.
*Remember to leave a little bit of sourdough starter in the jar so you have something to feed for next time! There should be about 10-15g left over.
4. After the autolyse, sprinkle the salt over the dough. Wet your hand and pinch and fold the salt into the dough. Make sure there are no big clumps of salt in the dough. Cover and let sit for 15 minutes.
5. After 15 min, do your first set of stretch and folds. Get your hands wet, grab underneath one end of the dough and pull it up, stretching the dough until it begins to tear, then fold it over itself. Repeat three more times, grabbing a different end of the dough each time. By the fourth stretch and fold you should notice the dough getting tougher to stretch. That's a good sign. Cover and let sit for 15 minutes.
6. After 15 minutes, do your second set of stretch and folds. Cover and let sit for 30 minutes.
7. After 30 minutes, do your third set of stretch and folds. Cover and let sit for another 30 minutes. *If you want to add any mix-ins to your dough (ie. herbs, cheese, dried fruit, etc) you would do that during the third set of stretch and folds. Sprinkle 1/3 of the mix-ins over the top of the dough then do a fold. Add another 1/3 of the mix-ins then do the second fold. Add the final 1/3 and do a third and forth fold. It's okay if the mix-ins fall out while doing the folds- they will incorporate more during the fourth set of stretch and folds and during the shaping.
8. After 30 minutes, do your fourth and final set of stretch and folds. Cover and let sit for about 1-2 hours, or until the dough is puffy, jiggly, and shiny on top. It should almost doubled in size.
9. After the dough has risen, flour a clean surface and gently ease the dough out of the bowl. Divide into two equal pieces and begin shaping (see shaping video). Remember, you shape the dough slightly different depending on if you want it to be a boule (circle) or batard (oval).
10. Cover the loaves with a cloth and let them sit on the counter for 10-15 minutes.
11. After 10-15 minutes, gently shape the loaves the same way again. Flour your bannetons and put the loaves in the bannetons seam side up, cover, and place in the fridge overnight.
12. The next day, place a dutch oven or cast iron pan with a lid in your oven and preheat to 500°F (preferably convection setting).
13. Once the oven has preheated, take one loaf out of the fridge. Turn it out onto a piece of parchment paper and score it with a lame or sharp knife. Carefully place the loaf and a few ice cubes into the preheated dutch oven and cover.
14. Bake covered for 18 minutes. After 18 minutes, take the lid off the dutch oven and set the oven to 450°F. Bake for an additional 18-20+ minutes, carefully watching the loaves so they don't burn. You want the loaves to be golden brown all around and sound hollow when you tap on them. The internal temperature of the dough should be 190°F.
15. Take the loaves out and let them cool for at least 30 minutes. Don't cut into the loaves when they are hot or else they will become gummy inside.
16. Store in a bag on the counter for 2-3 days or slice and store in a bag in the freezer for up to 6 months.
Here is a link to my Amazon Storefront with all my favorite sourdough supplies. I do make a small commission if you buy anything from my storefront, but know that I use these products and love them. Don’t ever feel like you need something to make bread, all you really need is flour, water, and salt :)
